The other day we talked about one of the things I learned about myself at the Painted Cottage–I tend to rely too much on my accessories to carry a room. I went on and on about how the bones of a room can be part of the room itself–molding and paneling and flooring and stuff. But also, bones can be the large pieces. The furniture. Yes, I’m totally making this up as I go. But here’s the deal, contrary to what people said in the comment section: Bones don’t have to cost a lot of money.
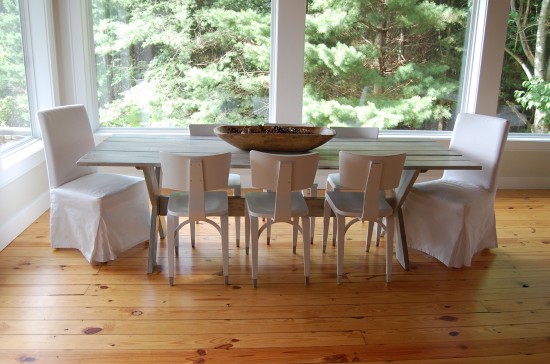
Take that dining room “set” up there that is anything but a set. I’m starting a new club Women Against Sets. W.A.S.
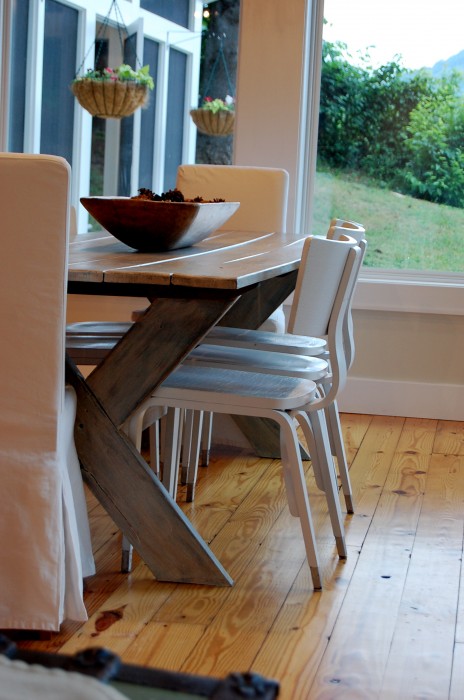
People, it’s 2 parsons chairs with slipcovers {I see parson’s chairs all the time at yard sales for an average of $7 each} she got hers from IKEA slipcovers can be easily made or bought from target for $15. Plus 6 schoolroom chairs that Angela found at Scott Antique Market because she is a lucky dog and lives somewhat close enough to frequent it were $20 each.
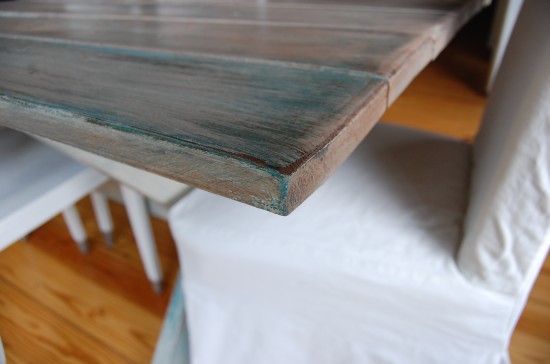
The table is an old picnic table they had that they paid $30 for. I was in love with the paint finish on the table so I ruthlessly inspected it so I could copy it as soon as I got home.
I asked Angela if she had any painting tips and here’s what she said::
…. I just used what paint I had lying around and didn’t have an end product in mind when I started painted–except that I wanted it to look layered, interesting, and weathered. I like to start with a dark paint, that I want to to peek through the final layers. Then I start layering in a dry-brush technique lighter colors. If it starts to look too bright, then I add layers of an umber glaze, that I wipe off. I don’t know if those would be considered tips. I think painting in this way is really an experiment and you have to be willing to do multiple layers until you find the look you like. Playing around, really.
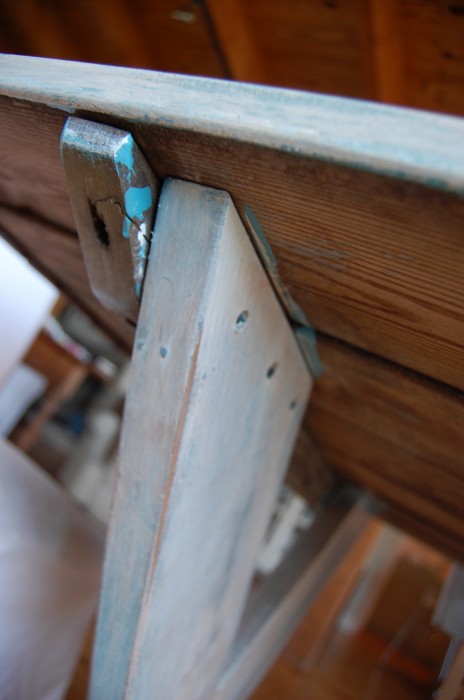
Here’s a shot from under the table. You can see some of the individual colors.
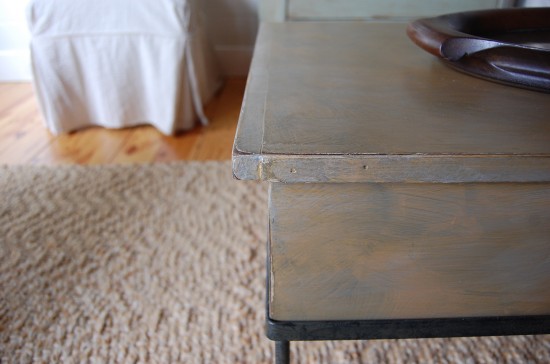
She also painted this coffee table.
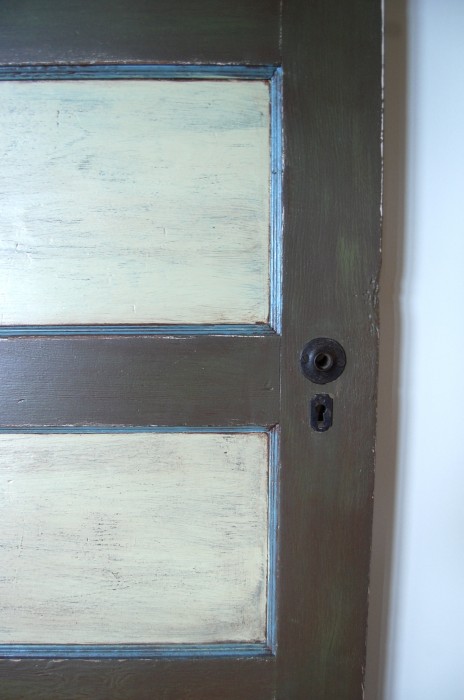
And the door. Layers people. Layers, patience and faith. Try it on something small first. Paint is such a cheap way to give old furniture a fresh look.
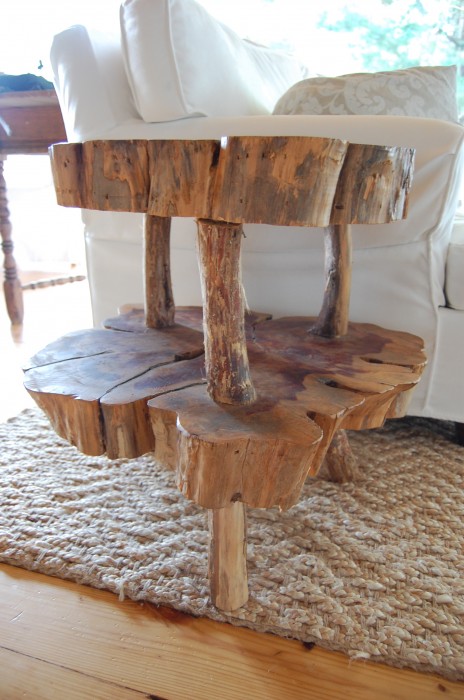
This cypress table made quite the statement compared to its cost of $35.
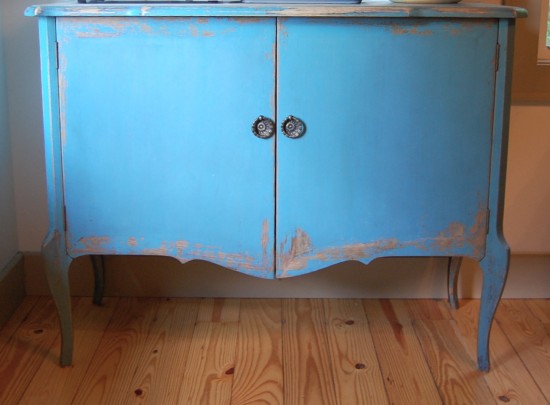
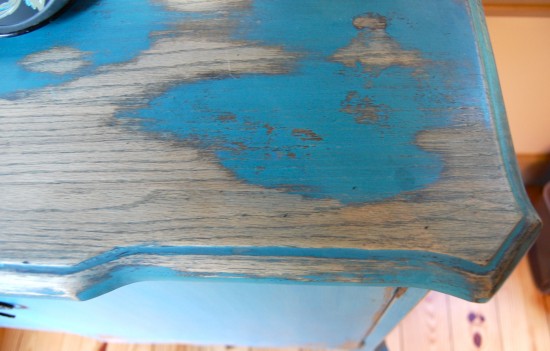
This turquoise piece was one of my favorite things. I was sure it had a history. It did, it came from a land called Home Goods.
This makes me want to cry out for sheer joy–I love the freedom of having something half painted and half wood and all beautiful.
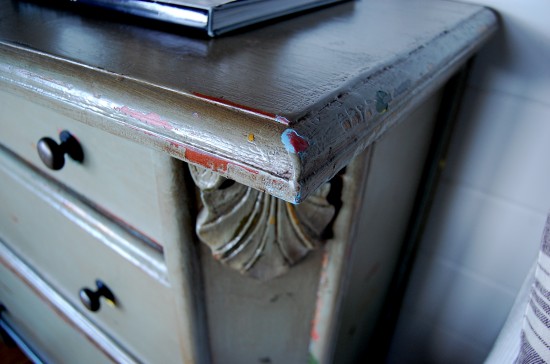
Angela found this painted dresser in its current state. There are layers of thick, chippy paint, I saw gold, red, blue and green.
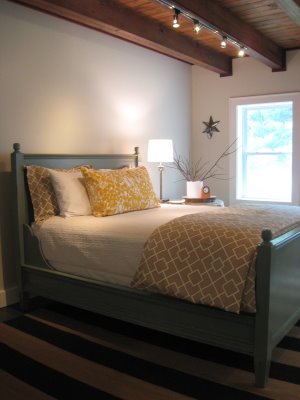
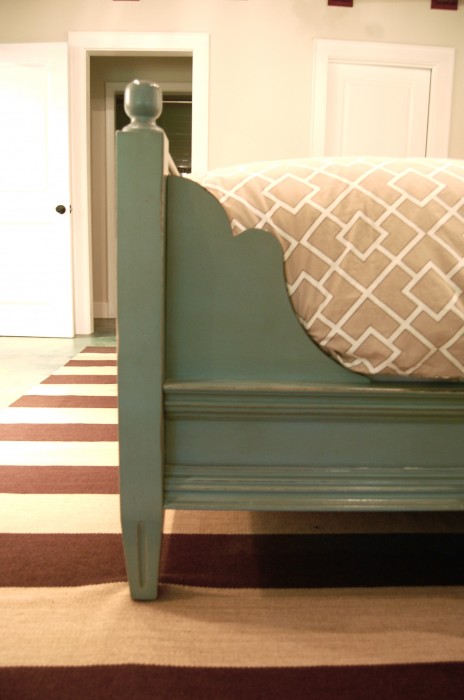
One of the most expensive pieces she bought was this bed for $400 at Pottery Barn Outlet. It looks like a super sturdy bed and it cost less than our first bed.
Look at the detail–isn’t it glorious. I’ll trade my bed for it.
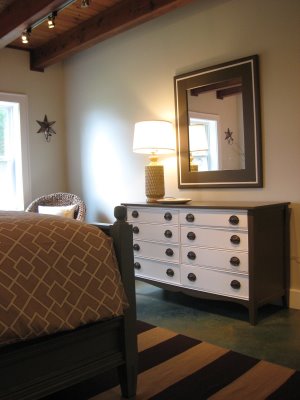
The dresser and mirror were not sold together in a set at Rooms to Go. W.A.S. Oh no, Angela just painted two mismatched pieces the same two colors to make them work. Hey, I have a dresser just like that in my closet, I could paint it up to make it look all cute like that if I wanted for free! You can find dressers for supa cheap.
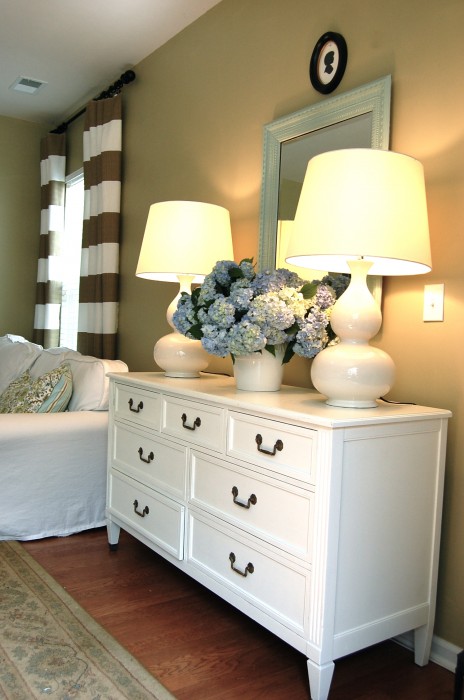
Remember my $18 dresser? How could you forget, I talk about it all the time.
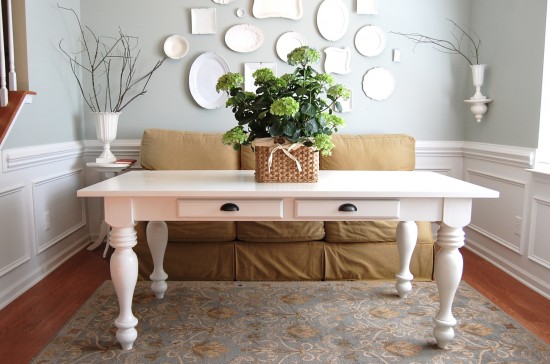
Nor will I let you forget the $15 table I found on that same fateful day.
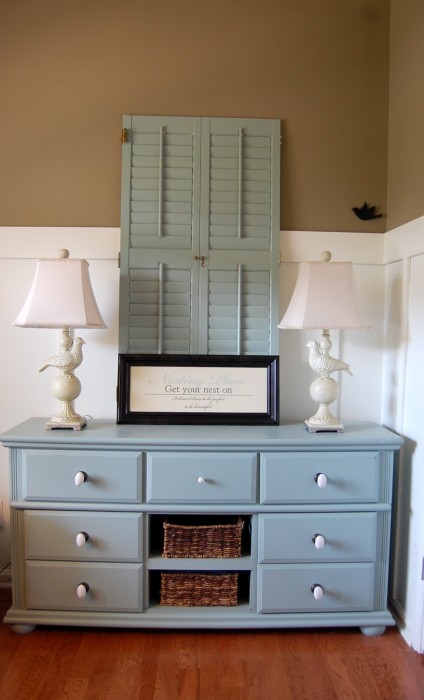
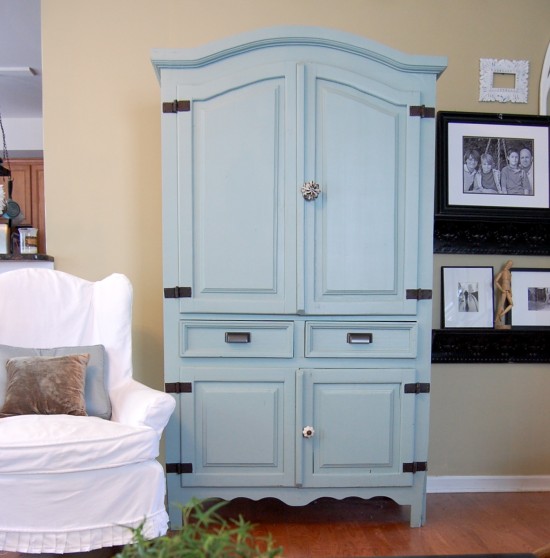
Lest you forget my painted TV cabinet.
It started out a $75 yard sale find, one of those Spanish pieces that are everywhere.
Today our focus was on the case goods, tomorrow, I’ll show you some upholstery pieces that inspired me. Are you sick of me talking about Angela, Angela, Angela yet?
Moral of the story:: if you only have enough money for either accessories or large pieces {now that we all agree that you can find large pieces for the cost of a few accessories} find the large pieces first.
